DIY Wind Chimes: A Complete Guide to Making Your Own
The first set of wind chimes I ever made sounded terrible. The tubes were cut by feel, strung unevenly, and produced a clangorous jumble that my neighbors were too polite to complain about directly. The second set, made after working through the physics of tube resonance, sounded like something I'd have paid money for in a shop. The difference was entirely in understanding what determines pitch and then following the math.
Making your own wind chimes is one of the more satisfying projects you can do in an afternoon. The materials are cheap, the tools are basic, and if you take the tuning seriously, the result is a proper instrument. Here is the complete process from planning to first ring.
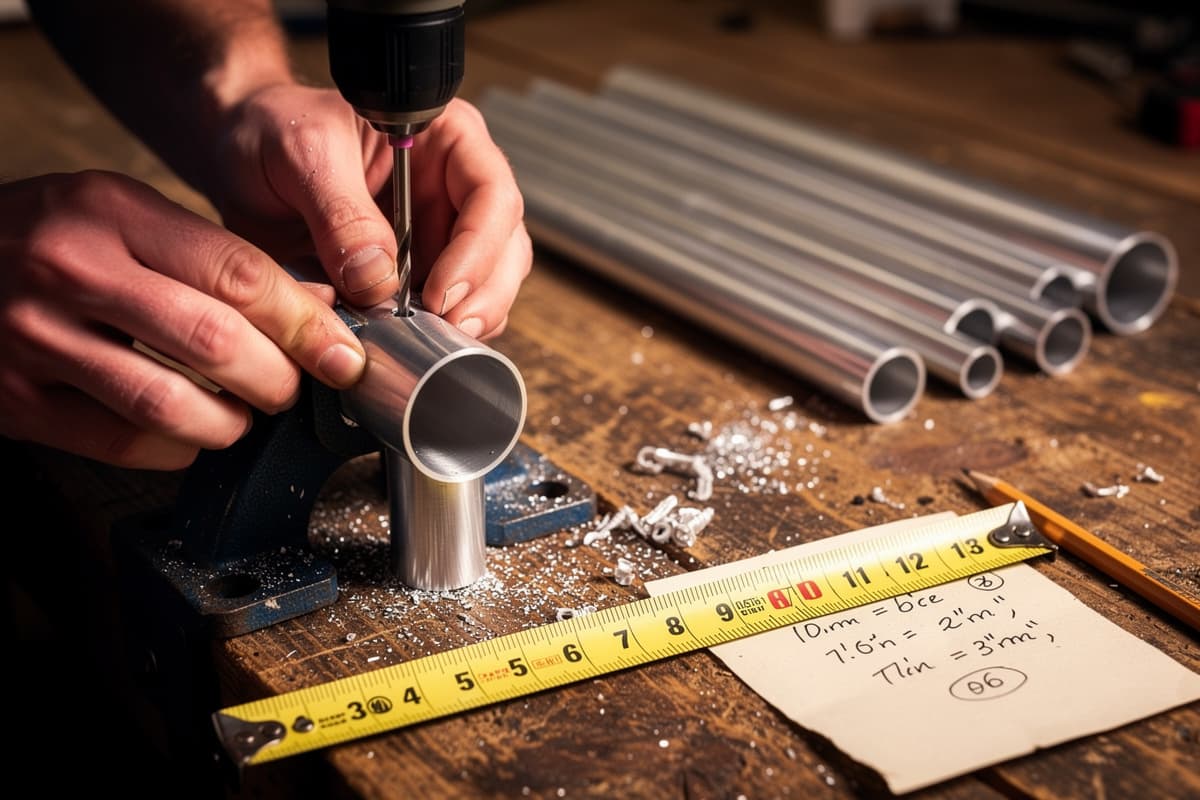
What You'll Need
Tubes: Aluminum electrical conduit (EMT) is the most accessible and affordable starting material. Standard 1/2-inch EMT (actual outer diameter about 3/4 inch) is easy to cut, holds pitch well, and weathers fine outdoors. You can buy a 10-foot length at any hardware store for a few dollars. Alternative: copper pipe (warmer tone, more expensive), steel conduit (brighter, harsher), or bamboo (see the end of this guide for bamboo-specific notes).
Tools:
- Pipe cutter or hacksaw with a metal-cutting blade
- Drill with a small bit (3/32 to 1/8 inch for suspension holes)
- File or sandpaper to deburr cut ends
- A tuner (a free smartphone app like GuitarTuna works fine)
- Measuring tape
- Marker
Hardware:
- Nylon or polyester cord (paracord works well)
- A wooden disc or dowel for the top platform (the "spider" or "crown")
- A wooden disc for the wind catcher sail at the bottom
- A wooden bead or small dowel for the striker
- A screw eye or swivel hook for hanging
Choosing Your Tuning
Before you cut anything, decide what scale your chime will play. The most forgiving and pleasant choice is a pentatonic scale: five notes with no semitone intervals, so any combination of simultaneously ringing tubes sounds harmonious.
For a starter set, I recommend a five-tube pentatonic set in the key of G:
| Note | Frequency | Tube length (3/4" EMT) |
|---|---|---|
| G4 | 392 Hz | 19.6 in (49.8 cm) |
| A4 | 440 Hz | 18.5 in (47.0 cm) |
| B4 | 494 Hz | 17.5 in (44.4 cm) |
| D5 | 587 Hz | 16.0 in (40.7 cm) |
| E5 | 659 Hz | 15.1 in (38.4 cm) |
These lengths are calibrated for standard 3/4-inch outer diameter EMT conduit. If you use a different tube diameter or alloy, the lengths will differ; use these as a starting point and tune by ear with a trimmer cut.
The underlying formula: frequency scales with tube diameter divided by the square of length, multiplied by the square root of stiffness over density. The practical upshot: a slightly longer tube plays flat, a slightly shorter tube plays sharp. Always cut a little long, then trim down to pitch.
Step 1: Cut the Tubes
Mark your cut lines carefully with a marker and square. A pipe cutter gives the cleanest, most square cut and requires no blade changes. Just rotate it around the tube while tightening the cutting wheel every few passes. A hacksaw works too, but keep the blade perpendicular to the tube to avoid angled cuts that affect how the tube hangs.
After cutting, file both ends to remove burrs. Sharp edges on aluminum cut cord quickly. Deburring takes 30 seconds and saves you from replacing the whole chime two months later.
Step 2: Find and Drill the Suspension Holes
This is the most critical step and the one most people get wrong. A wind chime tube must be suspended from its nodal point, the location where the tube doesn't vibrate when sounding its fundamental frequency. Suspending from any other point dampens the tone.
For a free-free bar, the nodal points are located at 22.4% of the tube length from each end. Measure 22.4% of your tube length from one end and mark it. That's your suspension hole.
For the G4 tube at 19.6 inches: 19.6 × 0.224 = 4.39 inches from either end. Drill your hole there.
Drill slowly and with firm pressure. Use a bit sized to your cord. You want the cord to pass through but not slip; 3/32 inch is right for most paracord. Smooth the hole edges with a small round file or a countersink bit so the cord doesn't fray.
Step 3: Check Your Tuning
Before stringing, hang each tube individually from a piece of cord through the hole and tap it with a hard object (a pen cap works). Hold the phone tuner nearby. The tube should ring its target note. If it reads flat, trim a small amount from one end (an eighth of an inch at a time) and recheck. If it reads sharp, you've cut too short; save this tube for a different project and cut a new one.
This iterative trimming step is where patient makers separate themselves. Rushing it produces a chime that sounds close but never quite right.
Step 4: Build the Top Platform
The top platform (often called the crown or spider) holds all the tubes at consistent heights. A 4-inch disc of 3/4-inch plywood or a thick hardwood dowel cross-piece works well.
Drill one hole in the center (for the main hanging cord) and one hole per tube, arranged in a circle around the center. Space the holes evenly, marking them at equal intervals around the circumference. The tubes should hang just far enough apart that they can swing and strike each other cleanly, but not so close that they tangle. About 1.5 inches of center-to-center spacing works for most tube sets.
Sand the platform smooth and apply a coat of exterior-grade finish if it will live outdoors.
Step 5: String the Chime
Cut lengths of cord for each tube, long enough that when strung through the platform hole and through the tube's suspension hole, the tubes hang at the desired length below the platform. Add about 6 inches of working length per tube.
Thread the cord down through the platform hole, through the tube's suspension hole, back up through the same platform hole (or an adjacent one), and tie off at the top. The tube should hang level. If a tube hangs at an angle, the cord is running unevenly through the suspension hole; re-thread it symmetrically.
Once all tubes are hung, check that they're at even heights. Some makers stagger tube heights for visual appeal (longer tubes lower, shorter ones higher in a gentle arc). That's entirely aesthetic and doesn't affect the sound.
Step 6: Add the Striker and Sail
The striker is a small weighted bead or short wooden dowel that hangs in the center of the tube ring, at the height where it can contact the tubes. String it from the center of the platform so it hangs at roughly one-third to halfway down the tubes. This is where it will brush the tubes as it swings.
The wind catcher (sail) hangs below the striker on a longer cord. A flat wooden disc 3-4 inches across is traditional; a thin piece of driftwood, a painted piece of 1/4-inch plywood, or even a large flat button all work. The sail's job is to catch air and convert wind into horizontal swing. Bigger sail = more responsive to light breezes. Smaller sail = less chattery in strong wind.
Thread a cord from the striker down through a hole in the sail center and tie it off with a knot below. The total drop from platform bottom to sail bottom should be roughly 1.5× the length of your longest tube.
Step 7: Hang and Listen
Attach a swivel hook to the center hole at the top of the platform. The swivel lets the whole chime rotate freely in the wind without the cords winding up and binding.
Hang it, step back, and wait for a breeze. If it's not ringing freely, the striker may be hanging too low (it overshoots the tubes) or the sail may be too small. If it clatters constantly in any air movement, the sail is too large; trim it down.
Bamboo-Specific Notes
Building with bamboo follows the same structural logic but with different tube physics. Bamboo has higher internal damping than aluminum, so the tones are shorter and warmer. The frequency formula still applies, but bamboo's modulus varies by species and moisture content, making precise pre-calculation unreliable. The practical approach: cut tubes long, dry them thoroughly (at least a few days in a warm, ventilated space), then tune by trimming.
Seal bamboo tube ends with wood glue or beeswax to prevent moisture ingress and splitting. Bamboo is beautiful for indoor chimes and covered porches; it degrades faster than aluminum in full outdoor exposure.
The Satisfaction of a Tuned Chime
There is something qualitatively different about a chime you've made yourself. You know every tube's note, you remember the particular cut that got it there, you understand why it rings the way it does. When the wind plays it, it plays something you designed: a small instrument that never performs the same piece twice.
To hear how different tube configurations and materials sound before you commit to a build, try the material and wind controls in Vibe Chimes.